My husband was complaining that he didn't have a good space for his work, since our house is small and I have overtaken the spare bedroom for my trombone and music studio. As his complaints went on, he became obsessed with garden shed conversions, tiny houses, etc. and I decided to go ahead and design one to build.
The whole thing started out looking like this:

First, I had to sort out the foundation. I decided to go with a stone pad to minimize movement of the clay soil and used 4x6 treated ground-contact timbers for the perimeter because my backyard is not level. the timbers were set with 1/2"x24" rebar.


I had some helpers:

Ready for stone:

I needed 2-1/2 yards of stone, ordered 3, and they delivered 4-1/2.


Time to start building the floor:


Next up was framing out the walls.
Cladded headers are the way to go.


Of course we'd have a hurricane come through in the middle of the project, so everything went into the garage and I had to cover


Time for walls to go up.


Of course it had to rain with crazy wind, so the floor got wet and some water seeped into the insulated floor. Thankfully I was able to get some air blowing under it and removed the moisture from everything.


Sheathing really helped it start to take shape.


Getting the upper window framing section was the toughest part. You can see where it's being held in place with ratchet straps until it could be attached with steel ties.


I used this project as a means of honing my skills cutting birds mouths and bulding flying rafters.


Holy crap! It's a real building taking shape!


Finally I got to start getting into the real details of making it useful. I started with roof ventilation and insulation.


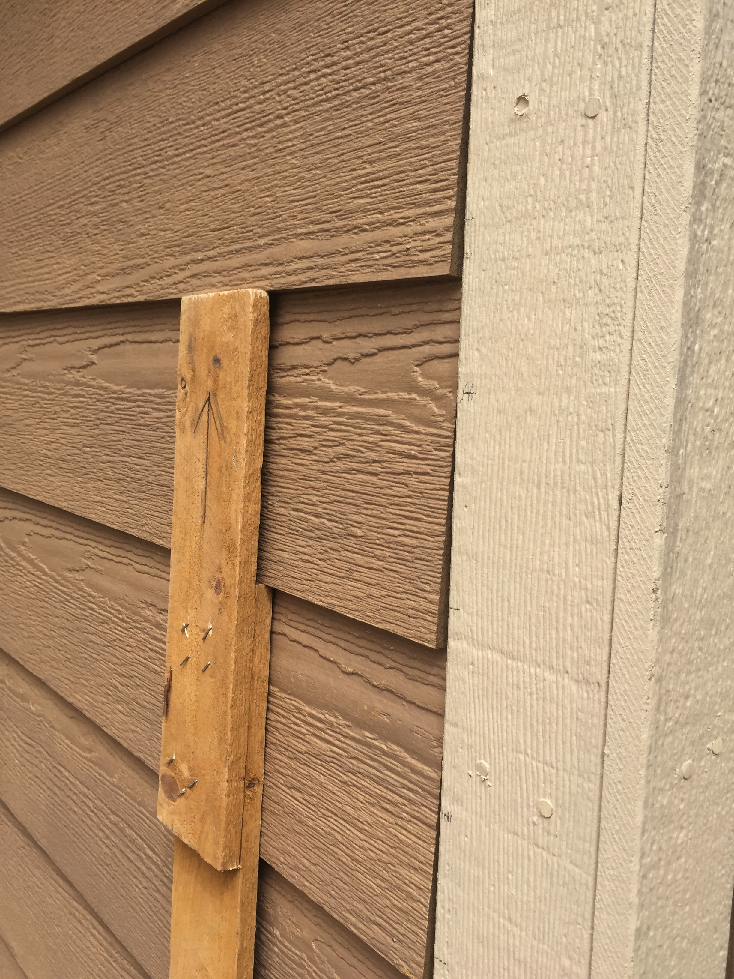
Then I started getting the siding up. This is the same Hardie Custom Colonial we have on the house. If you ever do Hardie, I strongly recommend getting some Gecko gauges. They make it go FAST.


I had some spray foam tanks leftover from a previous project, so I put them to use here.


For walls I went with primed shiplap to avoid drywall cracking with movement. It was vastly more expensive, but I really like the look.


Now that I was doing a lot more work inside, I figured it was time to build a small porch to make it easier to step in and out. I used composite deck boards for low-maintenance and a great look.


For the interior ceiling I decided to use tongue & groove beadboard. I made my life easier by staining and polying it on sawhorses outside. Flush mount LED lighting made for a nice, clean look.


Of course, in Texas, we need climate control. I went with a 12,000 BTU mini split from Mr. Cool. this is a true DIY installation with pre-charged lines. The compressor unit is mounted on brackets that suspend it from the exterior wall. [EDIT 8/3/2025 - At the time, 12,000 BTU was the smallest DIY unit they offered. It is vastly oversized for the space, and we started having condensation problems almost immediately. The solution was to run a dehumidifier nonstop.]


For the floor, I went with a nice laminate that would match the ceiling.


And here is the finished product (except for the last of the paint):

And we even made a matching house for the cat.

The whole thing started out looking like this:
First, I had to sort out the foundation. I decided to go with a stone pad to minimize movement of the clay soil and used 4x6 treated ground-contact timbers for the perimeter because my backyard is not level. the timbers were set with 1/2"x24" rebar.
I had some helpers:
Ready for stone:
I needed 2-1/2 yards of stone, ordered 3, and they delivered 4-1/2.
Time to start building the floor:
Next up was framing out the walls.
Cladded headers are the way to go.
Of course we'd have a hurricane come through in the middle of the project, so everything went into the garage and I had to cover
Time for walls to go up.
Of course it had to rain with crazy wind, so the floor got wet and some water seeped into the insulated floor. Thankfully I was able to get some air blowing under it and removed the moisture from everything.
Sheathing really helped it start to take shape.
Getting the upper window framing section was the toughest part. You can see where it's being held in place with ratchet straps until it could be attached with steel ties.
I used this project as a means of honing my skills cutting birds mouths and bulding flying rafters.
Holy crap! It's a real building taking shape!
Finally I got to start getting into the real details of making it useful. I started with roof ventilation and insulation.
Then I started getting the siding up. This is the same Hardie Custom Colonial we have on the house. If you ever do Hardie, I strongly recommend getting some Gecko gauges. They make it go FAST.
I had some spray foam tanks leftover from a previous project, so I put them to use here.
For walls I went with primed shiplap to avoid drywall cracking with movement. It was vastly more expensive, but I really like the look.
Now that I was doing a lot more work inside, I figured it was time to build a small porch to make it easier to step in and out. I used composite deck boards for low-maintenance and a great look.
For the interior ceiling I decided to use tongue & groove beadboard. I made my life easier by staining and polying it on sawhorses outside. Flush mount LED lighting made for a nice, clean look.
Of course, in Texas, we need climate control. I went with a 12,000 BTU mini split from Mr. Cool. this is a true DIY installation with pre-charged lines. The compressor unit is mounted on brackets that suspend it from the exterior wall. [EDIT 8/3/2025 - At the time, 12,000 BTU was the smallest DIY unit they offered. It is vastly oversized for the space, and we started having condensation problems almost immediately. The solution was to run a dehumidifier nonstop.]
For the floor, I went with a nice laminate that would match the ceiling.
And here is the finished product (except for the last of the paint):
And we even made a matching house for the cat.